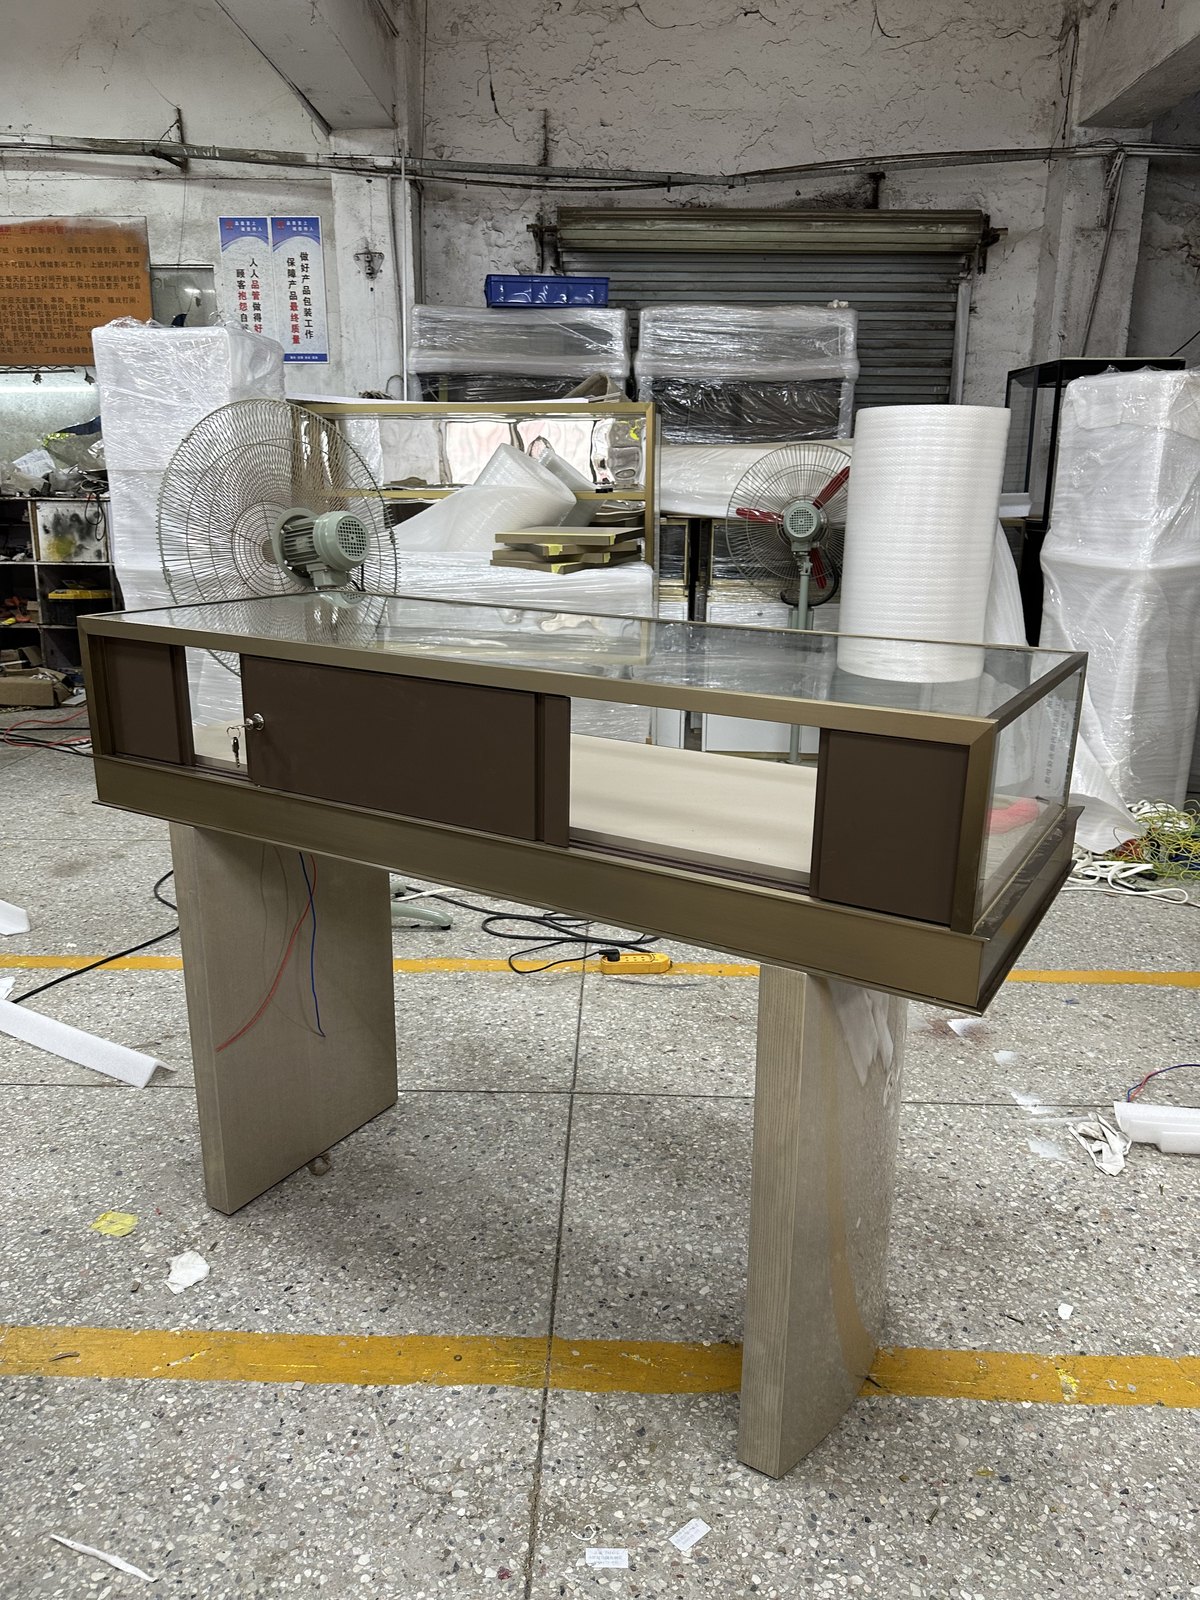
.png?imageMogr2/format/webp)
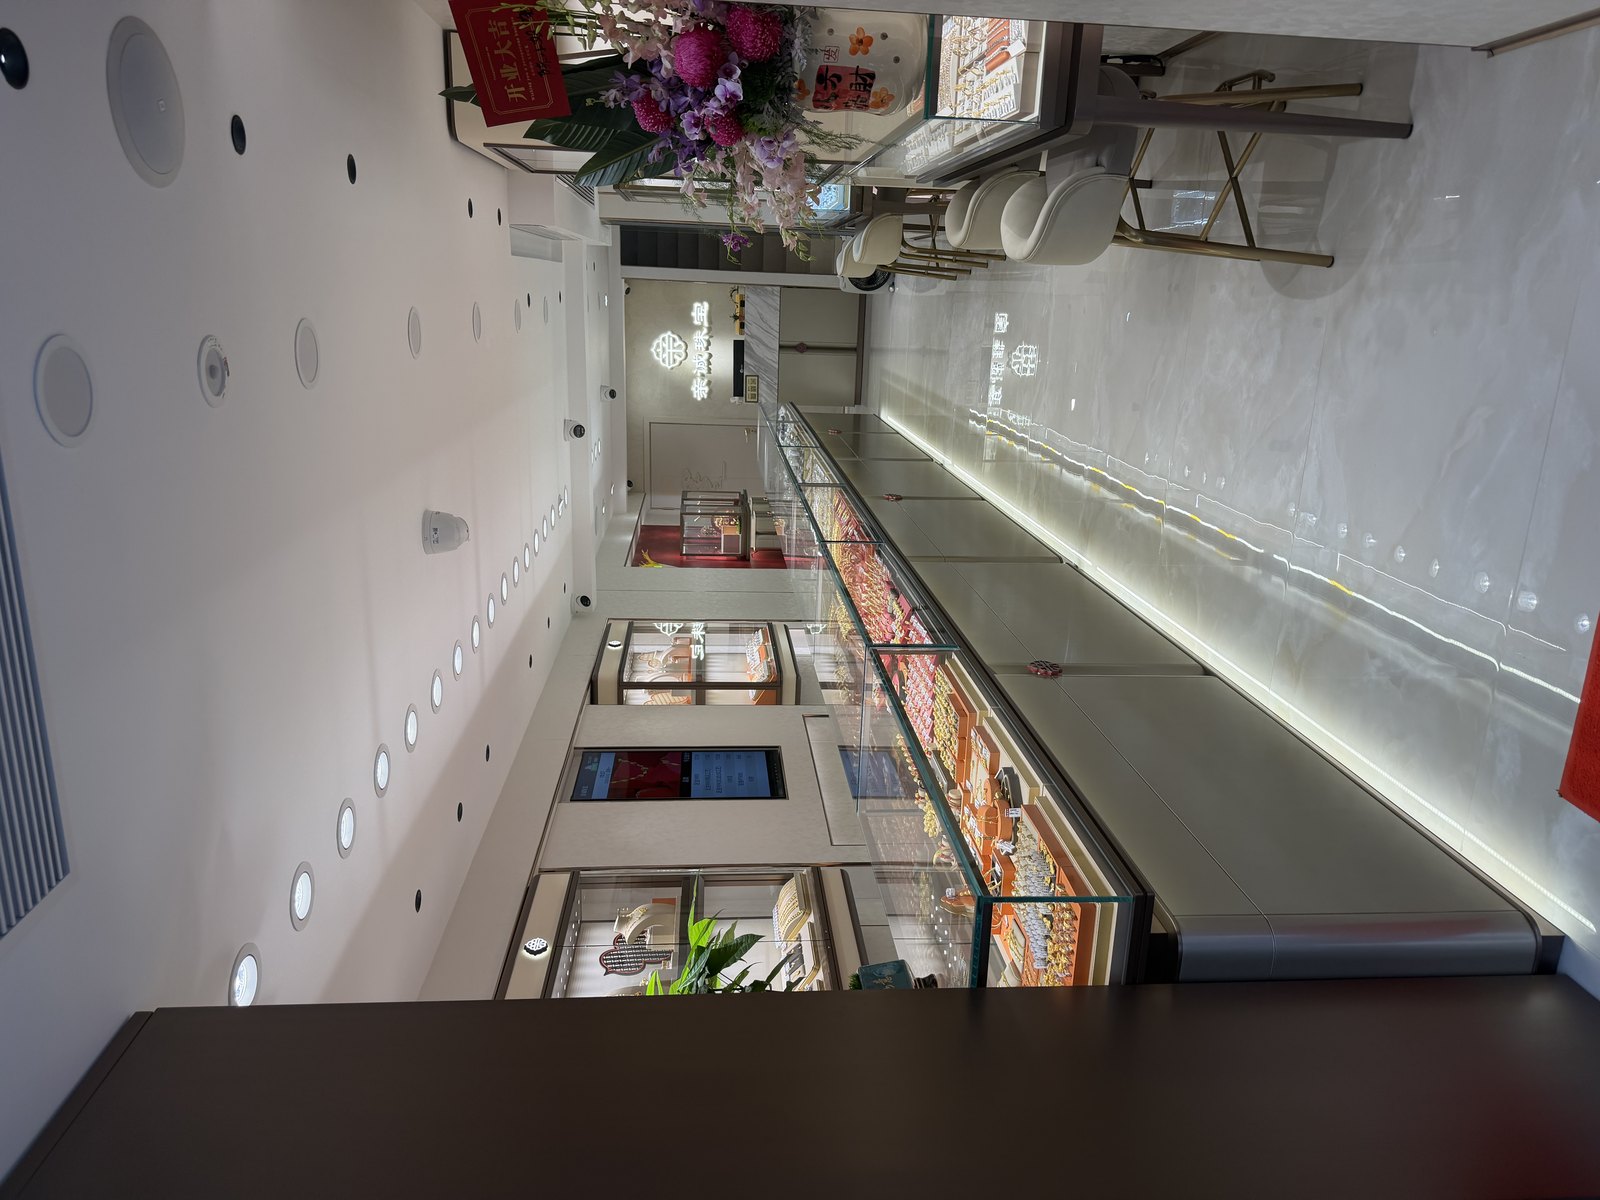
Before production begins, jewelry store fixture planning should establish what will be supplied, where each cabinet will sit, how it will be used and how it will reach its final position. A useful project package brings together site information, a numbered fixture schedule, approved drawings and material decisions. Unresolved details should be recorded with a responsible person and an agreed next step so they can be reviewed before affected work proceeds.
1. Start with the Store Layout and Operating Needs
Begin with the latest available floor plan and explain how the store will operate. Identify the product groups, customer consultation areas, staff access routes and storage needs that affect the cabinetry. Distinguish wall showcases, counters, island cases and focal display units by their intended role rather than choosing them only for their appearance.
Review the layout with the people who will use and maintain the store. Check whether doors and drawers have room to open, staff can reach displayed merchandise, and customer seating works with the proposed counters. Circulation dimensions and accessibility requirements should be confirmed by the relevant project designer for the actual site.
2. Prepare Site Information and Define the Supply Scope
Provide dimensioned plans, relevant elevations and site photographs. Mark columns, existing wall finishes, floor level changes, electrical connection points and other conditions that could affect the cabinets. Label preliminary information clearly and identify which dimensions still require an on-site check.
Define the supply and installation scope in writing. For example, confirm whether the order includes display counters, wall cabinets, storage cabinetry and integrated lighting. Separately identify responsibility for decorative display props, loose furniture, wall finishes, site electrical work and other adjacent items. These should enter the supplier’s scope only when explicitly agreed.
3. Build a Numbered Fixture Schedule
A fixture schedule turns a visual layout into an identifiable list of items. Give each cabinet type a reference code and use it consistently on the layout, drawings and order documents. Where similar-looking cabinets have different dimensions, access arrangements or finishes, make the difference explicit.
The table below is an example of a planning format, not a specification for a particular store. Add quantities and dimensions from the actual project rather than copying assumptions from a reference image.
| Schedule field | What to record | Why it matters |
|---|---|---|
| Item reference and location | Cabinet code and plan position | Connects each item to the layout |
| Quantity and dimensions | Confirmed count and overall size | Defines the proposed supply |
| Display and storage use | Merchandise area and storage arrangement | Clarifies operating needs |
| Access and hardware | Opening direction and proposed lock type | Supports staff use and coordination |
| Finishes and lighting | Approved references and lighting arrangement | Connects appearance with the specification |
| Drawing status | Current revision and approval status | Identifies the information to build from |
4. Coordinate Shop Drawings with Materials and Hardware
Shop drawings should explain how the proposed cabinets will be made and assembled. Review overall dimensions, internal arrangements, visible joints, glass interfaces and the relationship between adjacent cabinets. Show the intended opening direction and coordinate the necessary operating space with the layout.
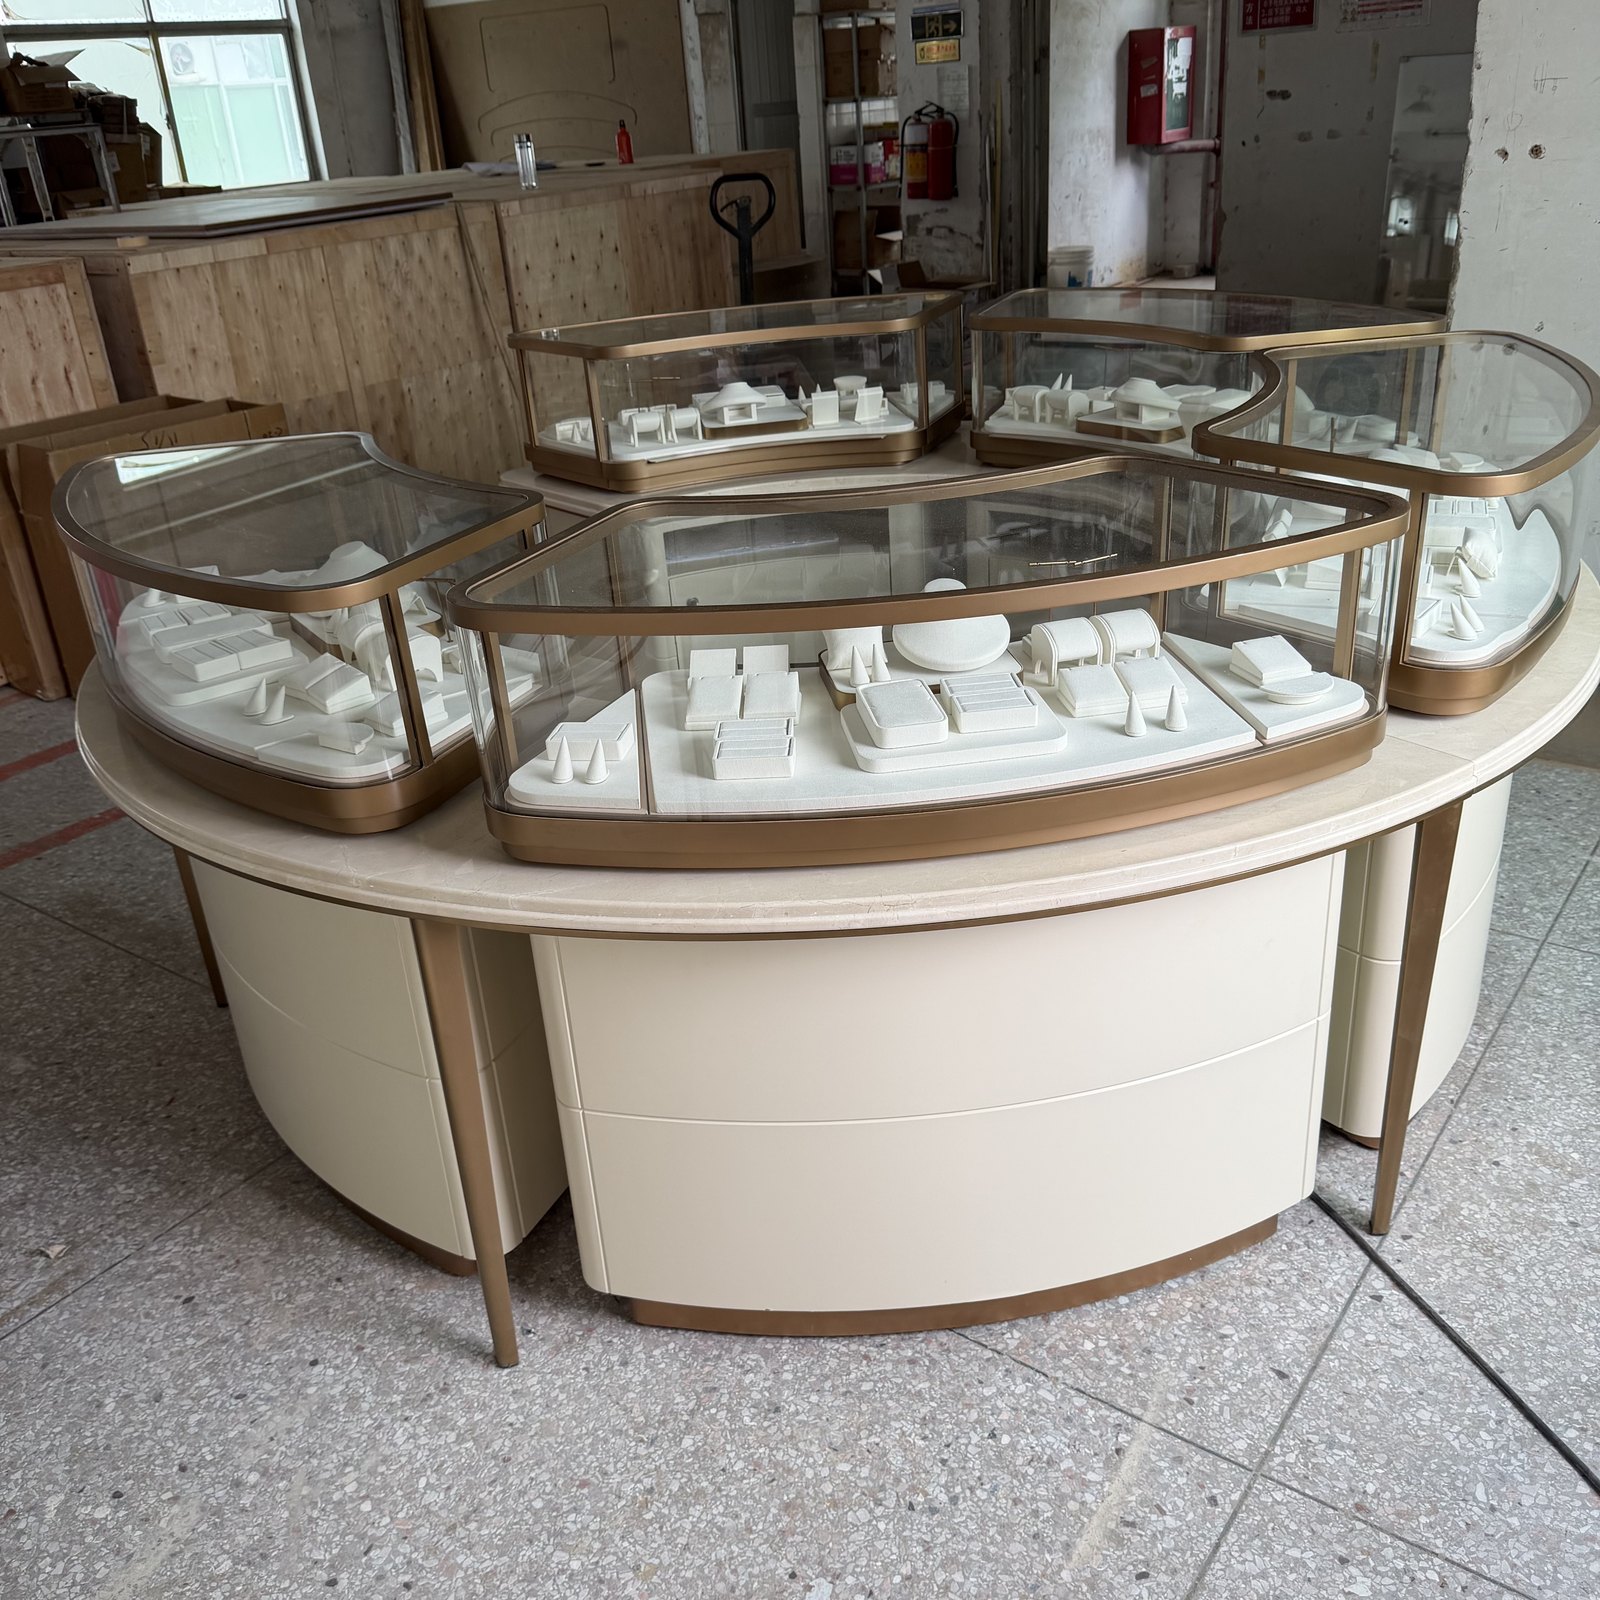
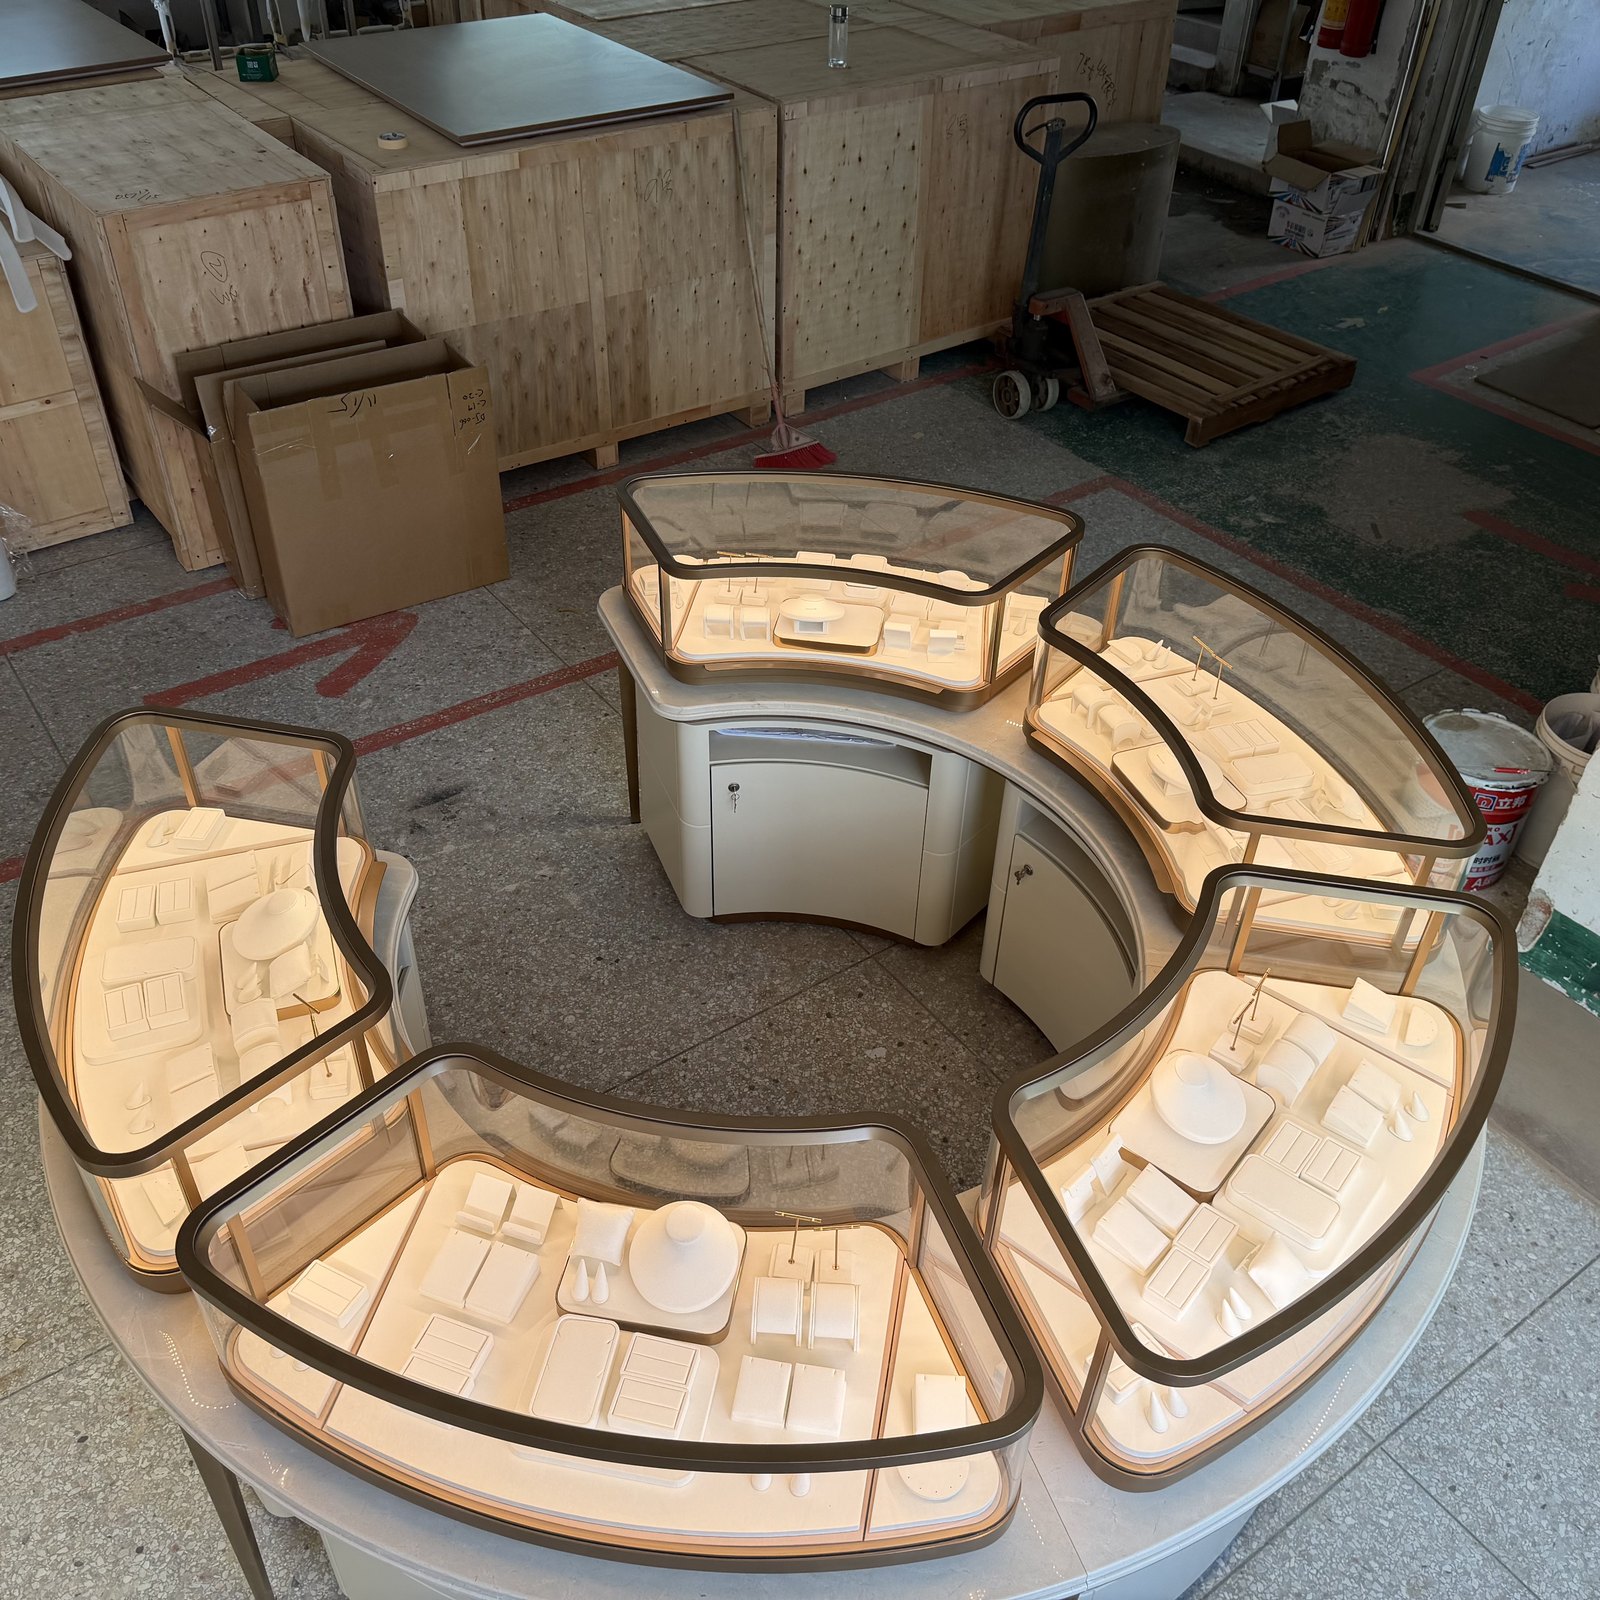
Material choices should be reviewed alongside the construction. Glass panels, stone components and metal framing can affect handling, supporting details and hardware selection. Curved units, long cabinet runs and large components deserve particular attention because their transport and assembly arrangements may influence how they are divided into sections.
Use a revision register to track changes. If a site dimension or material decision changes, identify the affected cabinet codes and drawings. Confirm the change before the related work continues; a revised render alone is not a complete manufacturing instruction.
5. Approve Representative Samples Before Production
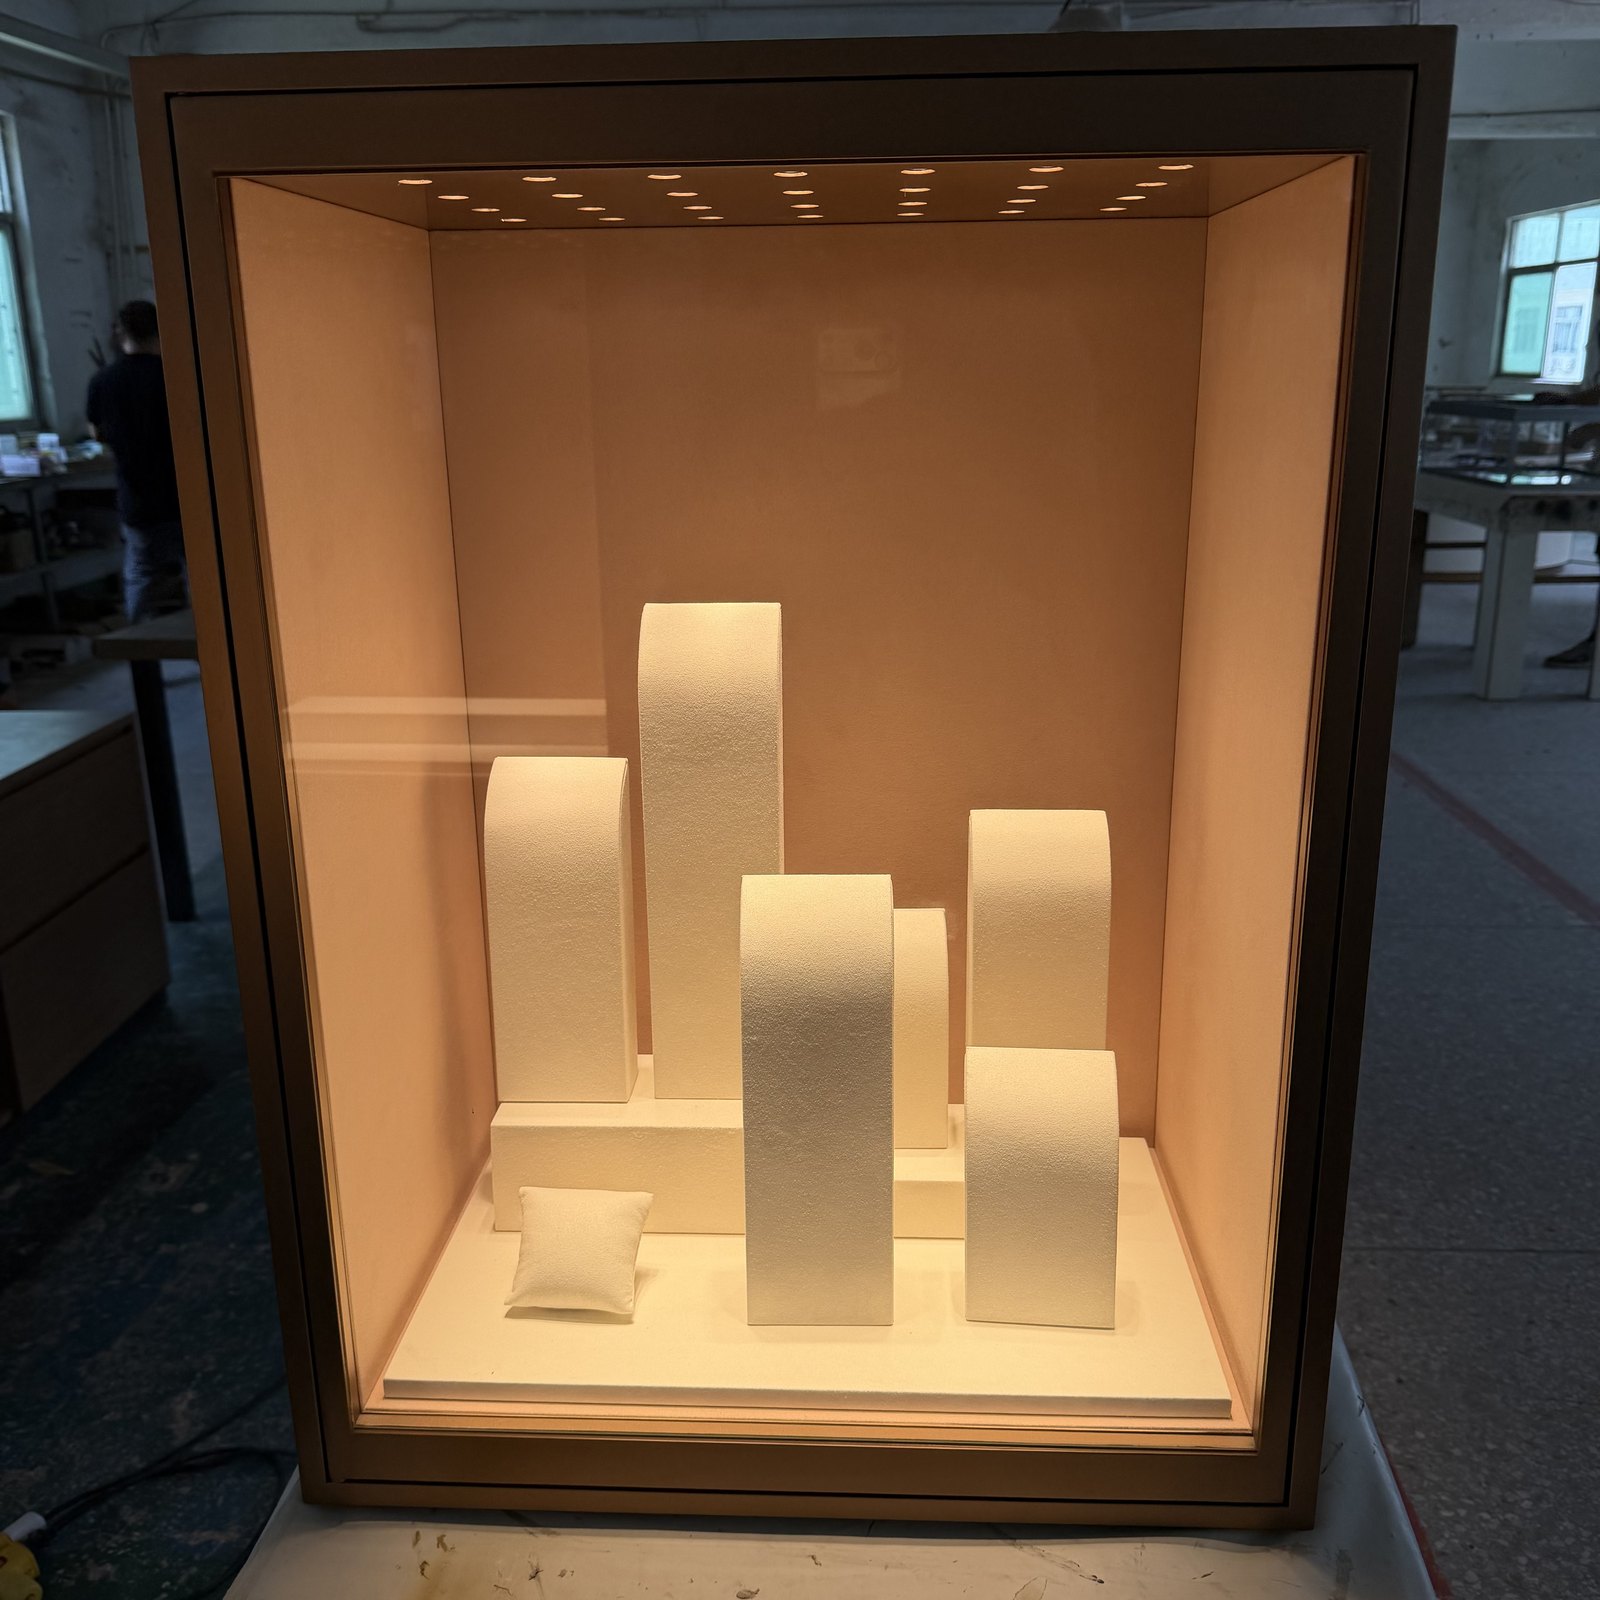
Choose samples that address the project’s real decisions. A metal finish sample may help confirm color and texture, while a glass-and-frame corner can clarify a visible joint. Where lighting or several materials must be judged together, consider a representative cabinet section rather than approving each material in isolation.
Record the approved sample reference and the drawings or cabinet types it applies to. Discuss which natural variations, if any, are acceptable and how substitutions will be reviewed. The purpose is to create a shared reference for production and inspection, not to imply that a small sample proves every aspect of the finished store.
6. Connect the Production Plan with Delivery and Installation
Plan beyond the manufacturing completion date. Confirm the delivery address, unloading arrangements, access route, lift restrictions and available storage area. Compare the largest proposed cabinet sections with the actual delivery route before finalizing assembly arrangements.
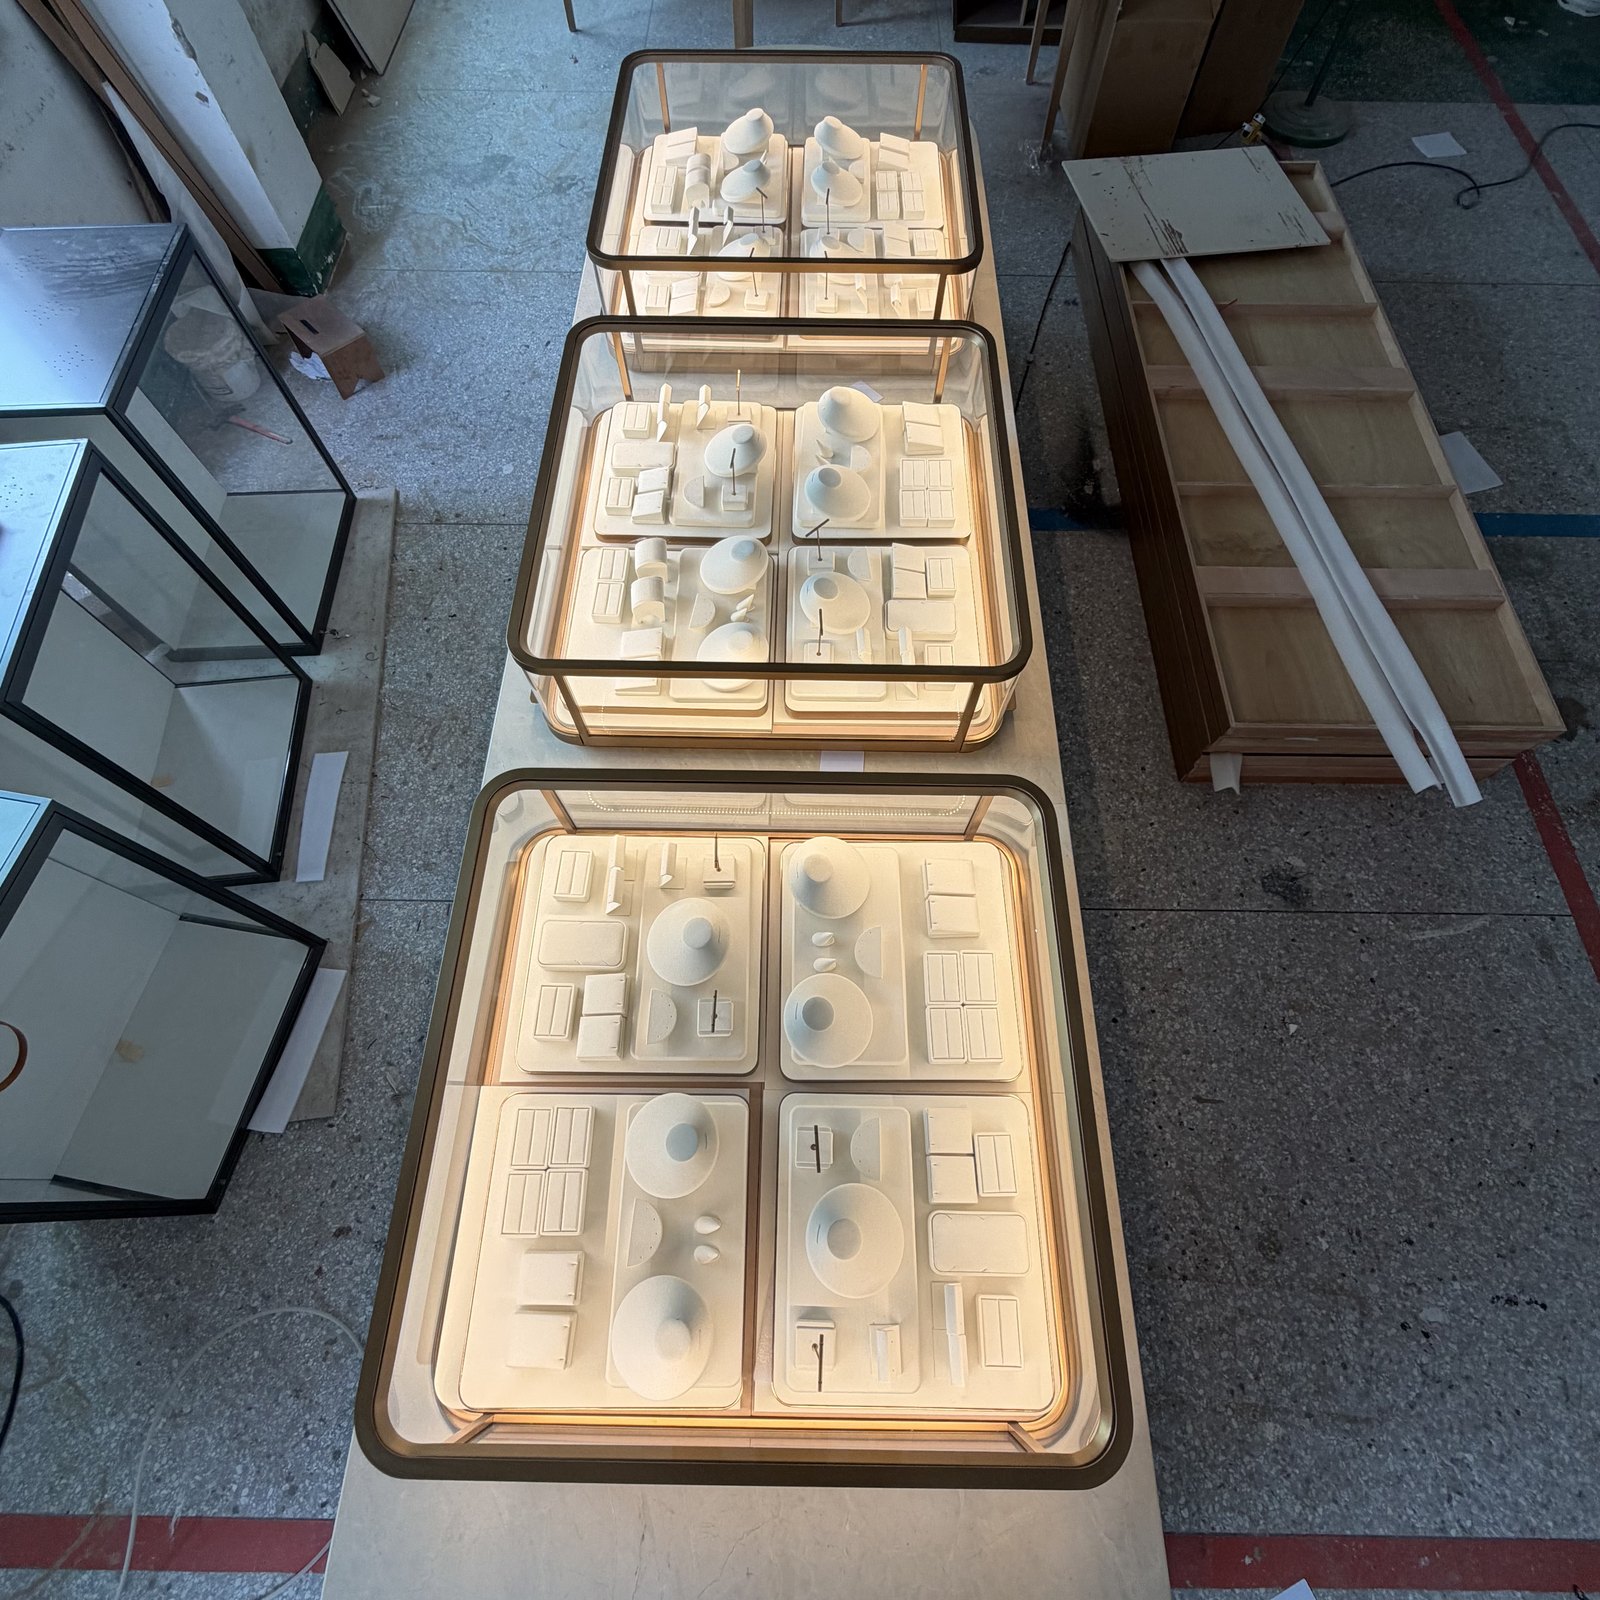
Agree which items need factory assembly checks and which will be joined on site. Label cabinet sections and packing records with the same references used on the drawings. Review the proposed installation sequence with the site team, including any interfaces with floor finishes, wall work or electrical connections.
Before dispatch, confirm the site’s readiness and the responsible contacts. An installation plan should identify who receives the shipment, who coordinates positioning, and who carries out any specialist connections within the agreed scope. Record outstanding issues and the arrangements for inspection and handover.
7. Review One Coordinated Package Before Release
The final review should bring the layout, fixture schedule, drawings, approved samples and delivery assumptions together. Check that cabinet references and quantities agree across the documents and that the team can identify the current approved versions. Record any remaining hold points instead of allowing an unresolved item to become an undocumented assumption.
Effective jewelry store fixture planning gives the project team a usable basis for making decisions and coordinating the work. To discuss your store with Shangyuan Showcase, share your latest layout, available site dimensions, design references and intended project schedule. These materials provide a starting point for reviewing custom showcase requirements and clarifying the proposed supply and installation scope.